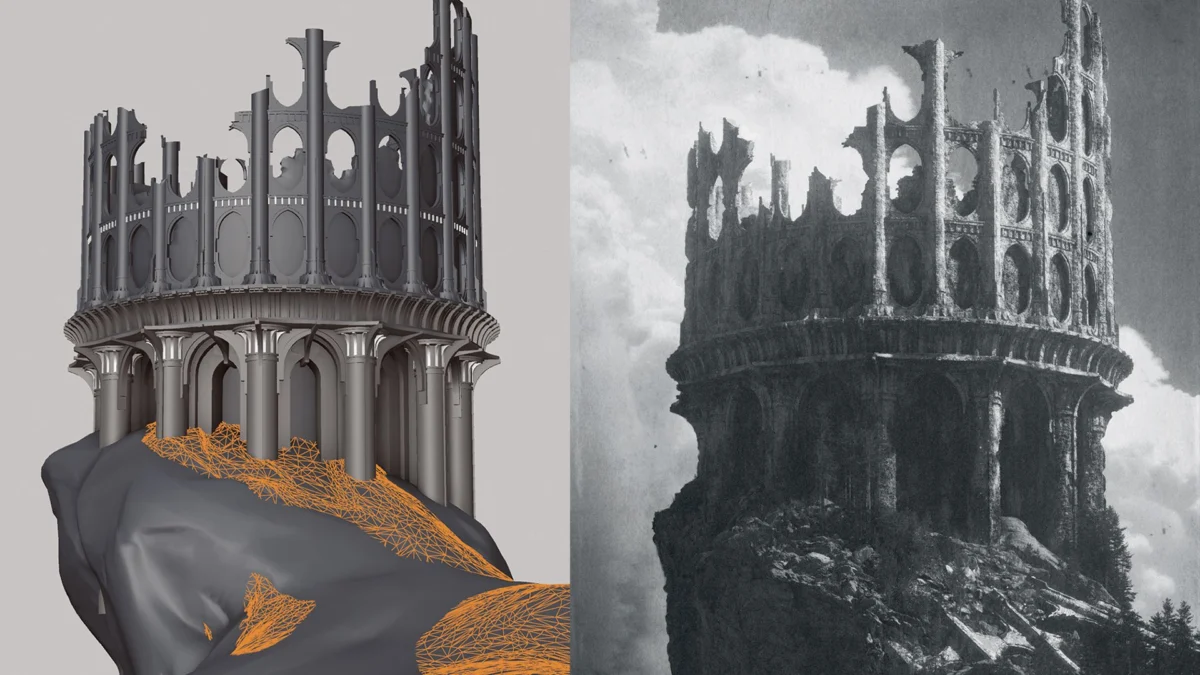
The creation of intricate, highly detailed digital environments has long represented a pinnacle of technical and artistic achievement in the computer graphics industry. Freelance sci-fi and fantasy artist Calder Moore recently detailed his end-to-end production methodology, offering a transparent look into how modern digital artists tackle monumental world-building tasks. By integrating powerhouse applications including Cinema 4D, ZBrush, Octane Render, and Adobe Photoshop, Moore’s step-by-step masterclass outlines an efficient blueprint for transforming basic geometry into evocative, narrative-driven 3D landscapes.
The Evolution of 3D Environment Pipelines
As the video game, cinematic, and architectural visualization sectors demand increasingly photorealistic and dense environments, traditional 3D modeling workflows have evolved significantly. Artists are routinely challenged to balance visual fidelity with scene optimization, ensuring that complex geometry does not bottleneck render times. Moore’s approach emphasizes modularity, pre-prepared asset libraries, and strategic displacement mapping to maximize visual interest without inflating polygon counts.
Historically, constructing crumbling ruins, sprawling terrain, and dense foliage systems required exhaustive, manual hand-modeling of individual assets—a process that could take months for a single hero shot. Modern workflows leverage procedural distribution tools, such as Octane Scatter and Cinema 4D’s cloner systems, alongside high-resolution photogrammetry textures sourced from industry standards like Quixel Megascans and RD Textures. This technological shift allows digital creators to pivot their focus from repetitive manual geometry generation to high-level composition, lighting, and narrative direction.
Phase One: Conceptualization and Scene Blocking
The foundation of any successful digital environment lies in pre-production planning and compositional clarity. According to industry workflow standards, breaking down an overwhelming project into manageable, incremental tasks is essential for maintaining momentum.
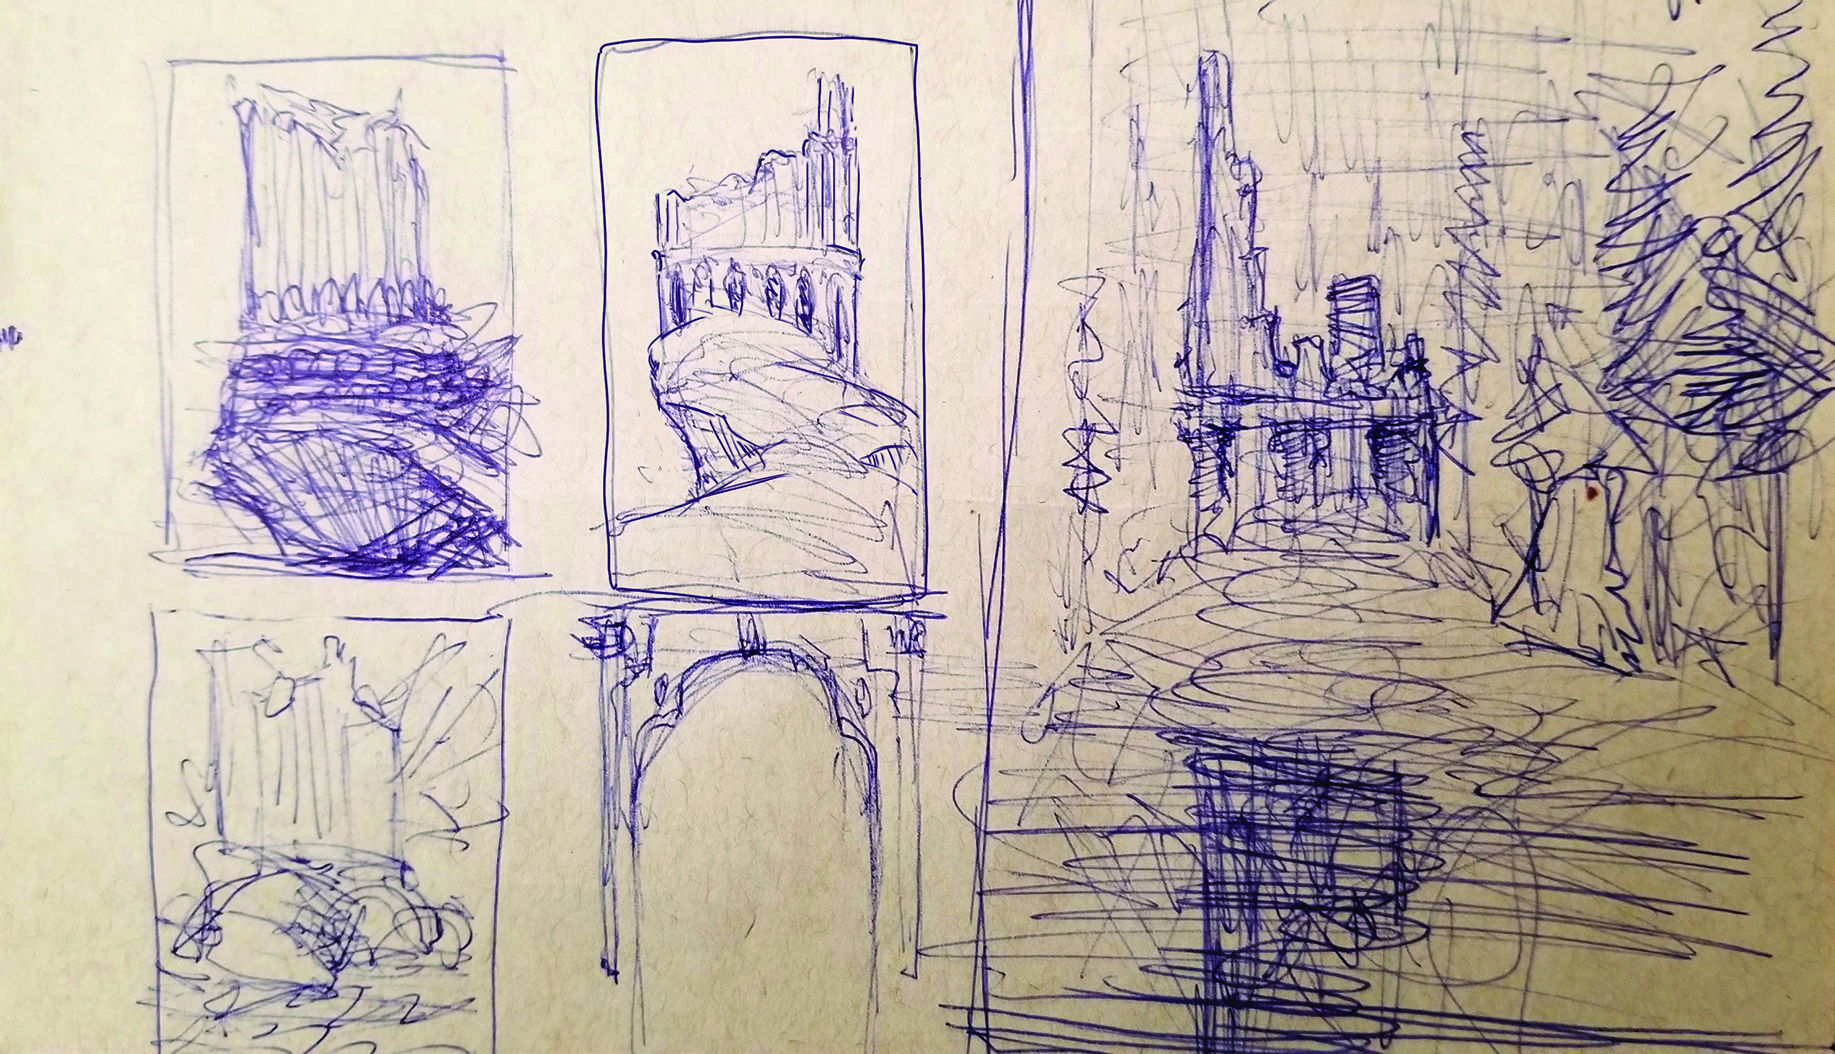
- Thumbnail Sketching and Moodboarding: The process begins with rapid thumbnail sketches to explore potential compositions, focal points, and atmospheric vibes. Concurrently, artists curate a visual palette of reference images encompassing architecture, lighting, and environmental mood. Moore notes that establishing a clear narrative intention—such as evoking a sense of "lonely, forgotten ancient power"—dictates every subsequent artistic decision.
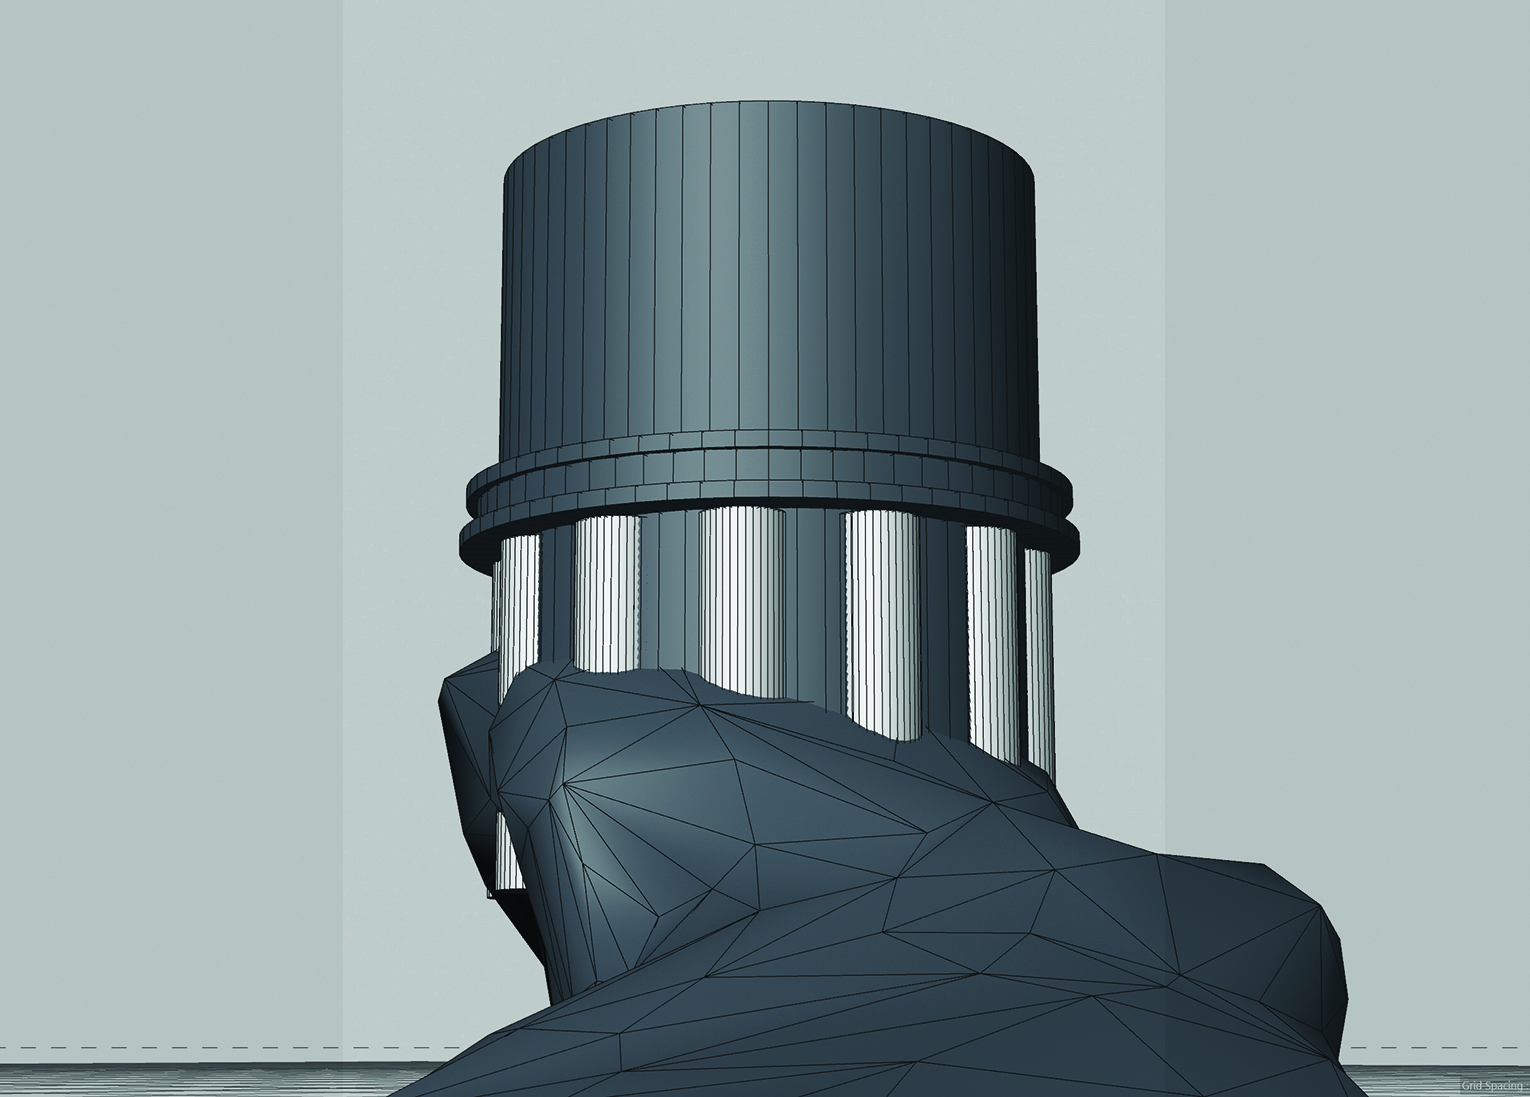
- Blocking the 3D Scene: Transitioning from 2D concepts to the 3D workspace, the artist establishes fundamental macro-forms in Cinema 4D. Using primitive geometry and basic sculpting brushes, the overarching silhouettes of the terrain and central structures are mapped out. Crucially, the virtual camera position is locked in early, anchoring the composition so that all subsequent detail work directly serves the final framed shot.
Phase Two: Procedural Modeling and Environmental Sculpting
With the composition secured, the workflow shifts toward structural refinement and asset generation. Rather than manually modeling every brick and fracture, efficiency is achieved through displacement mapping and procedural duplication.
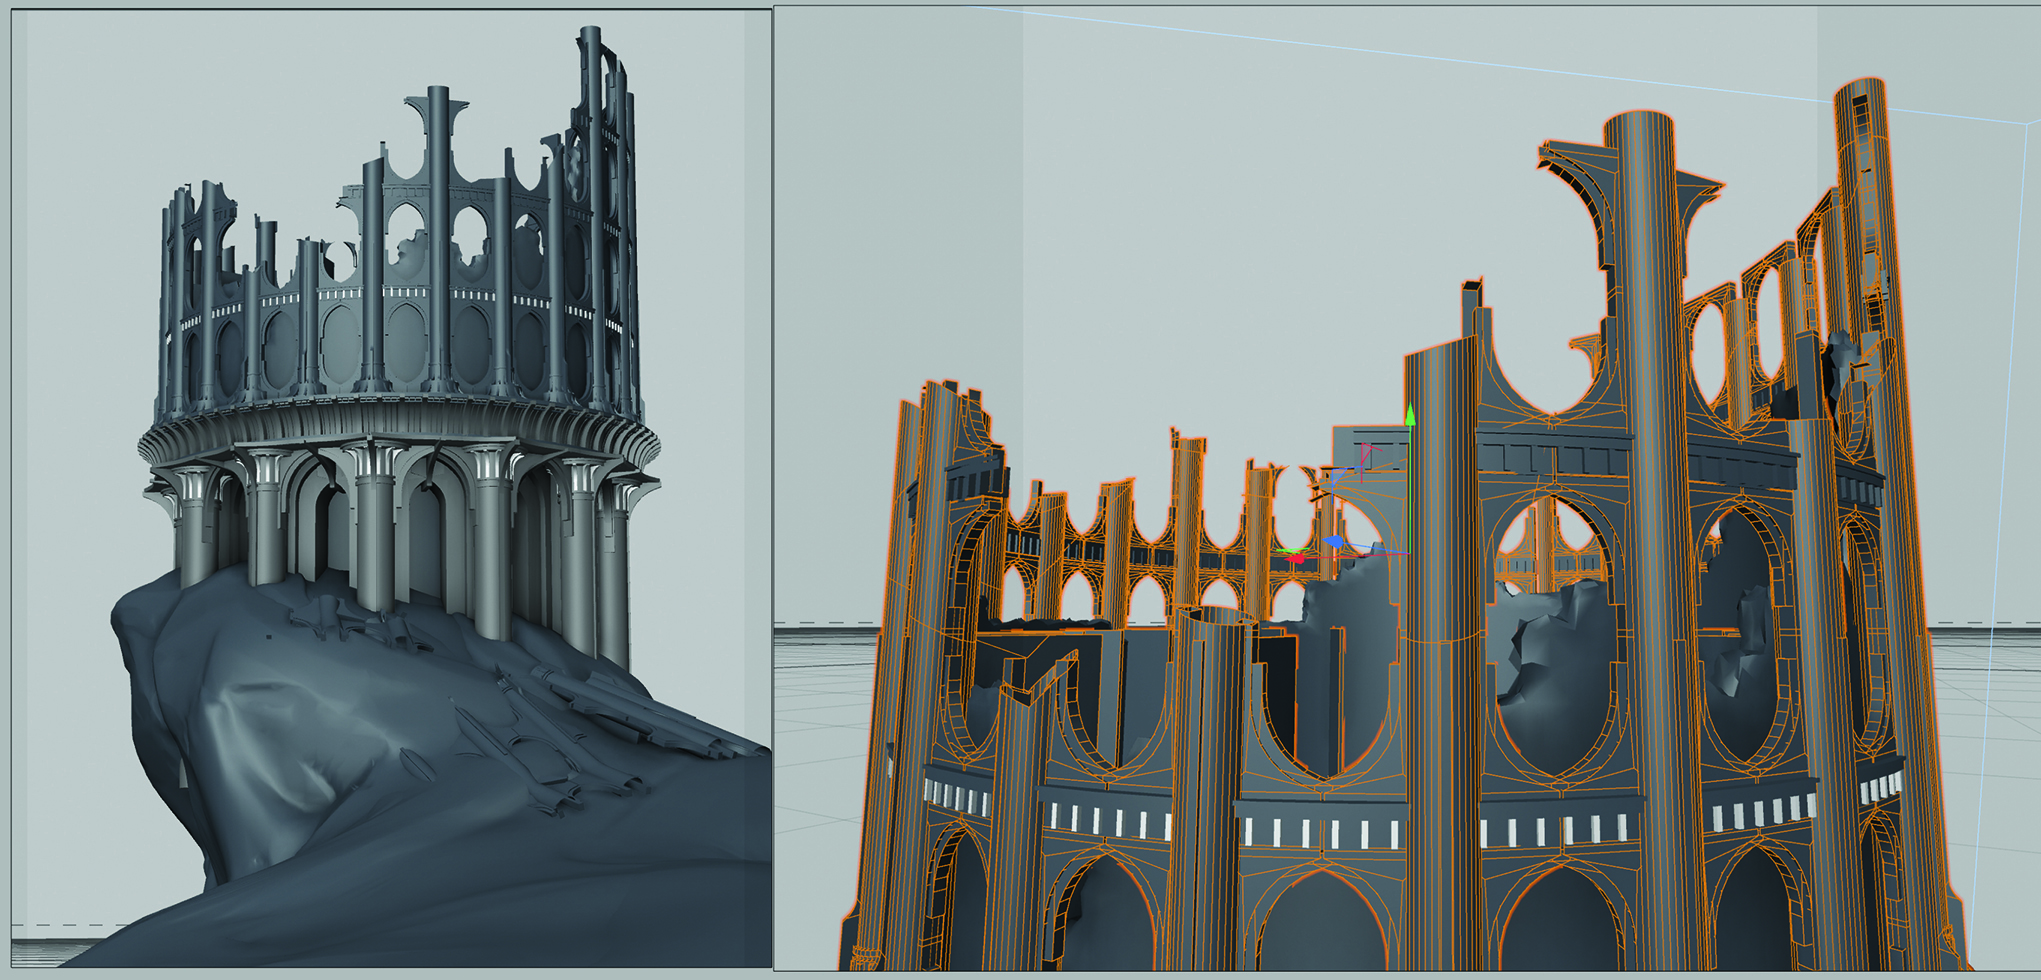
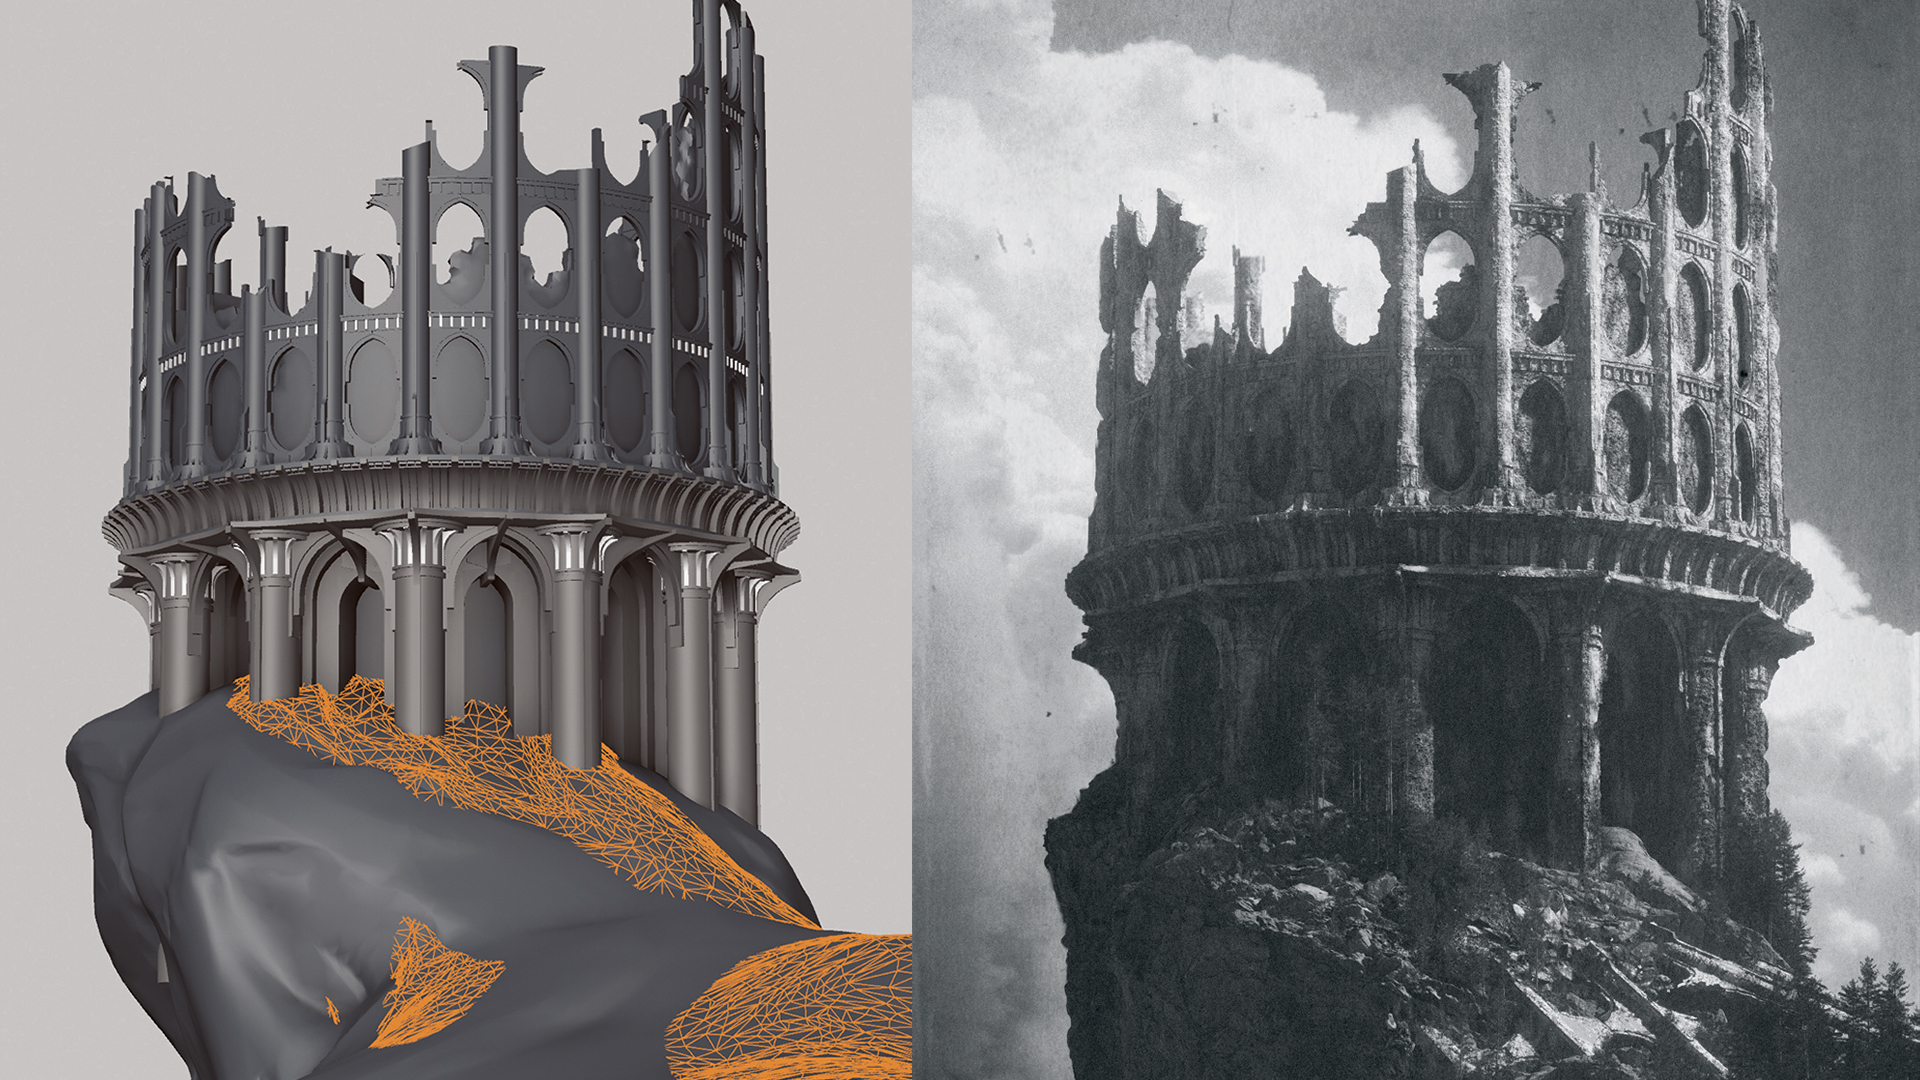
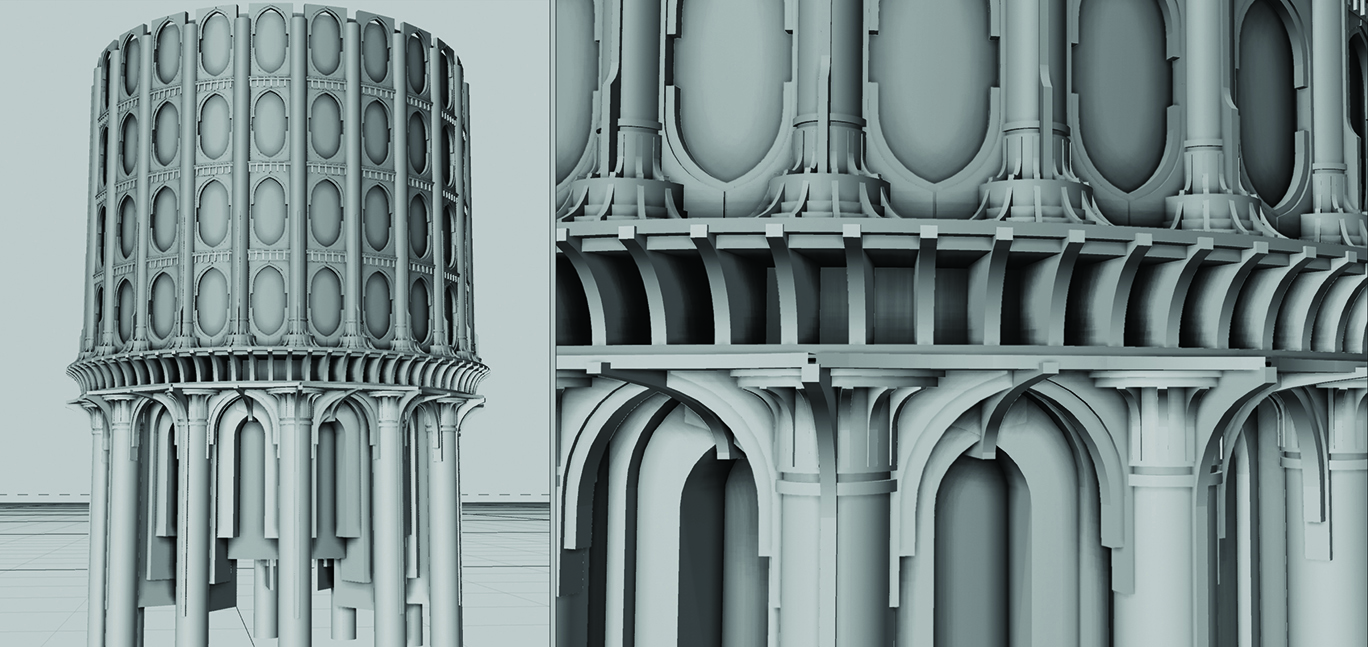
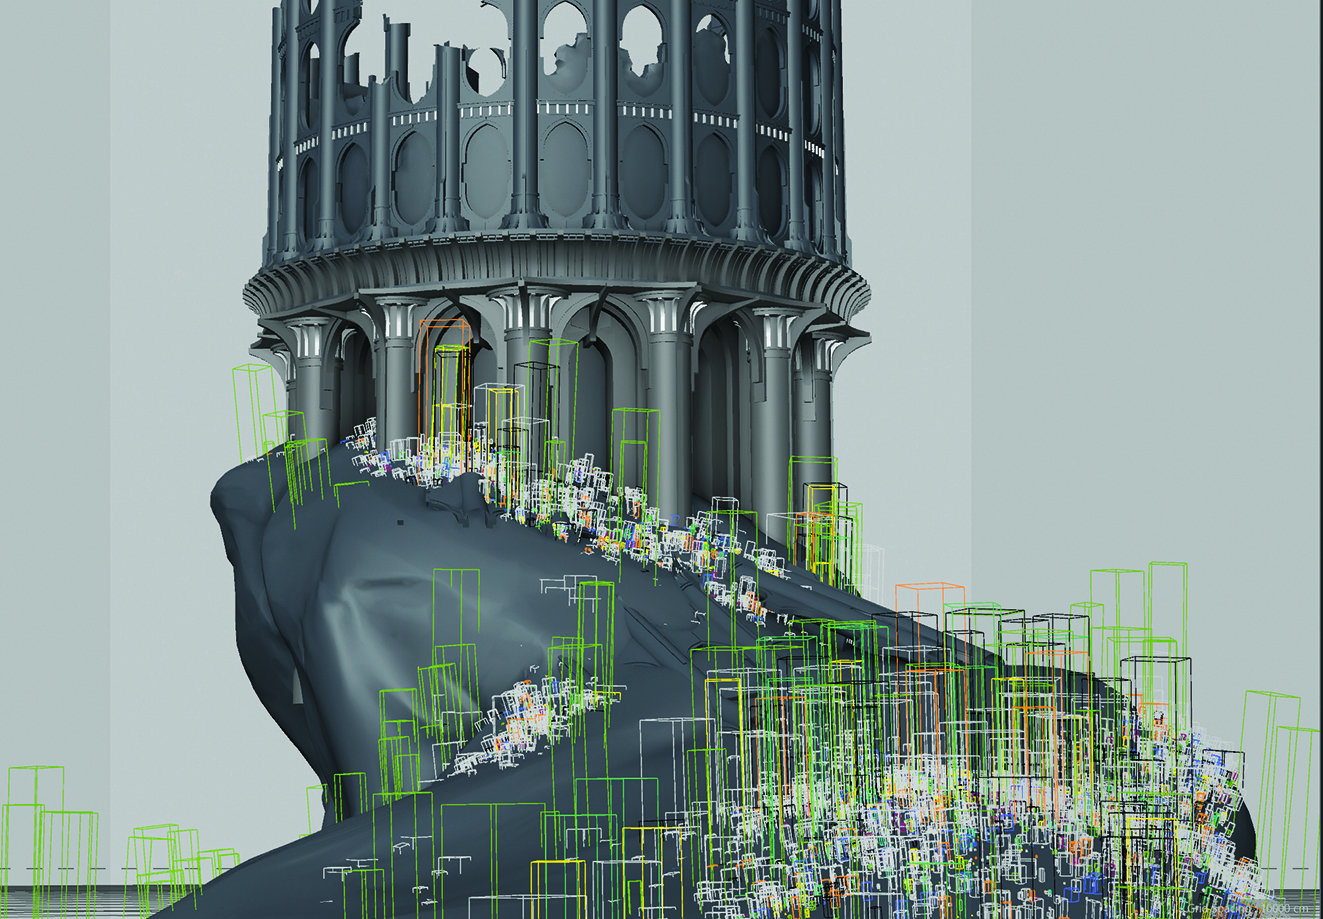
- Constructing and Fracturing Architecture: Central structures, such as ancient towers, are built using modular elements like radial cloners for pillars and symmetrical modeling for archways. To simulate historical decay, artists employ specialized geometry-cutting utilities, including the Voronoi Fracture tool. By selectively deleting fractured portions of the mesh, creators can achieve natural-looking structural collapses that align with the initial compositional sketches.
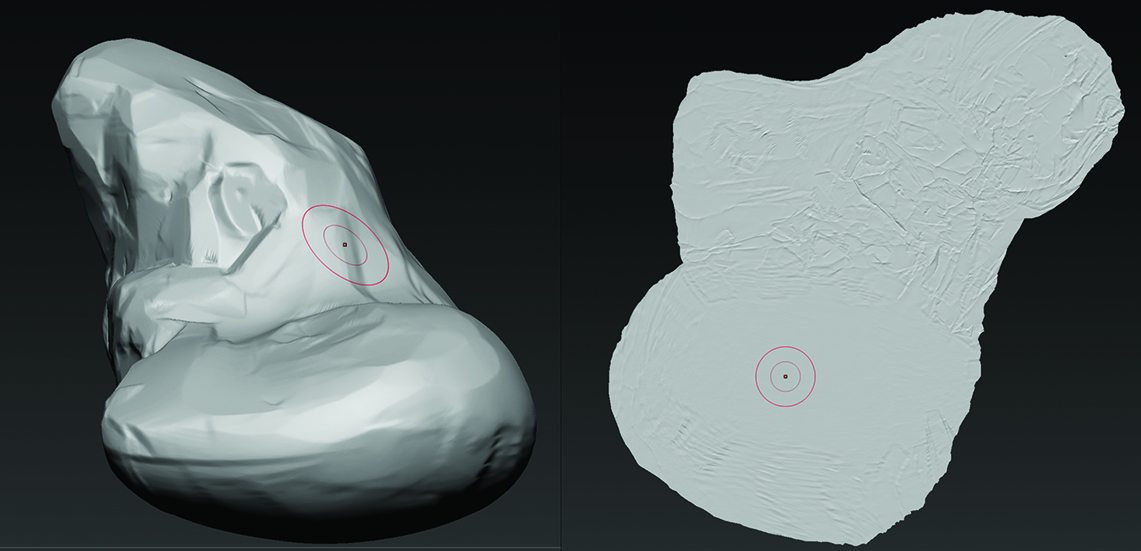
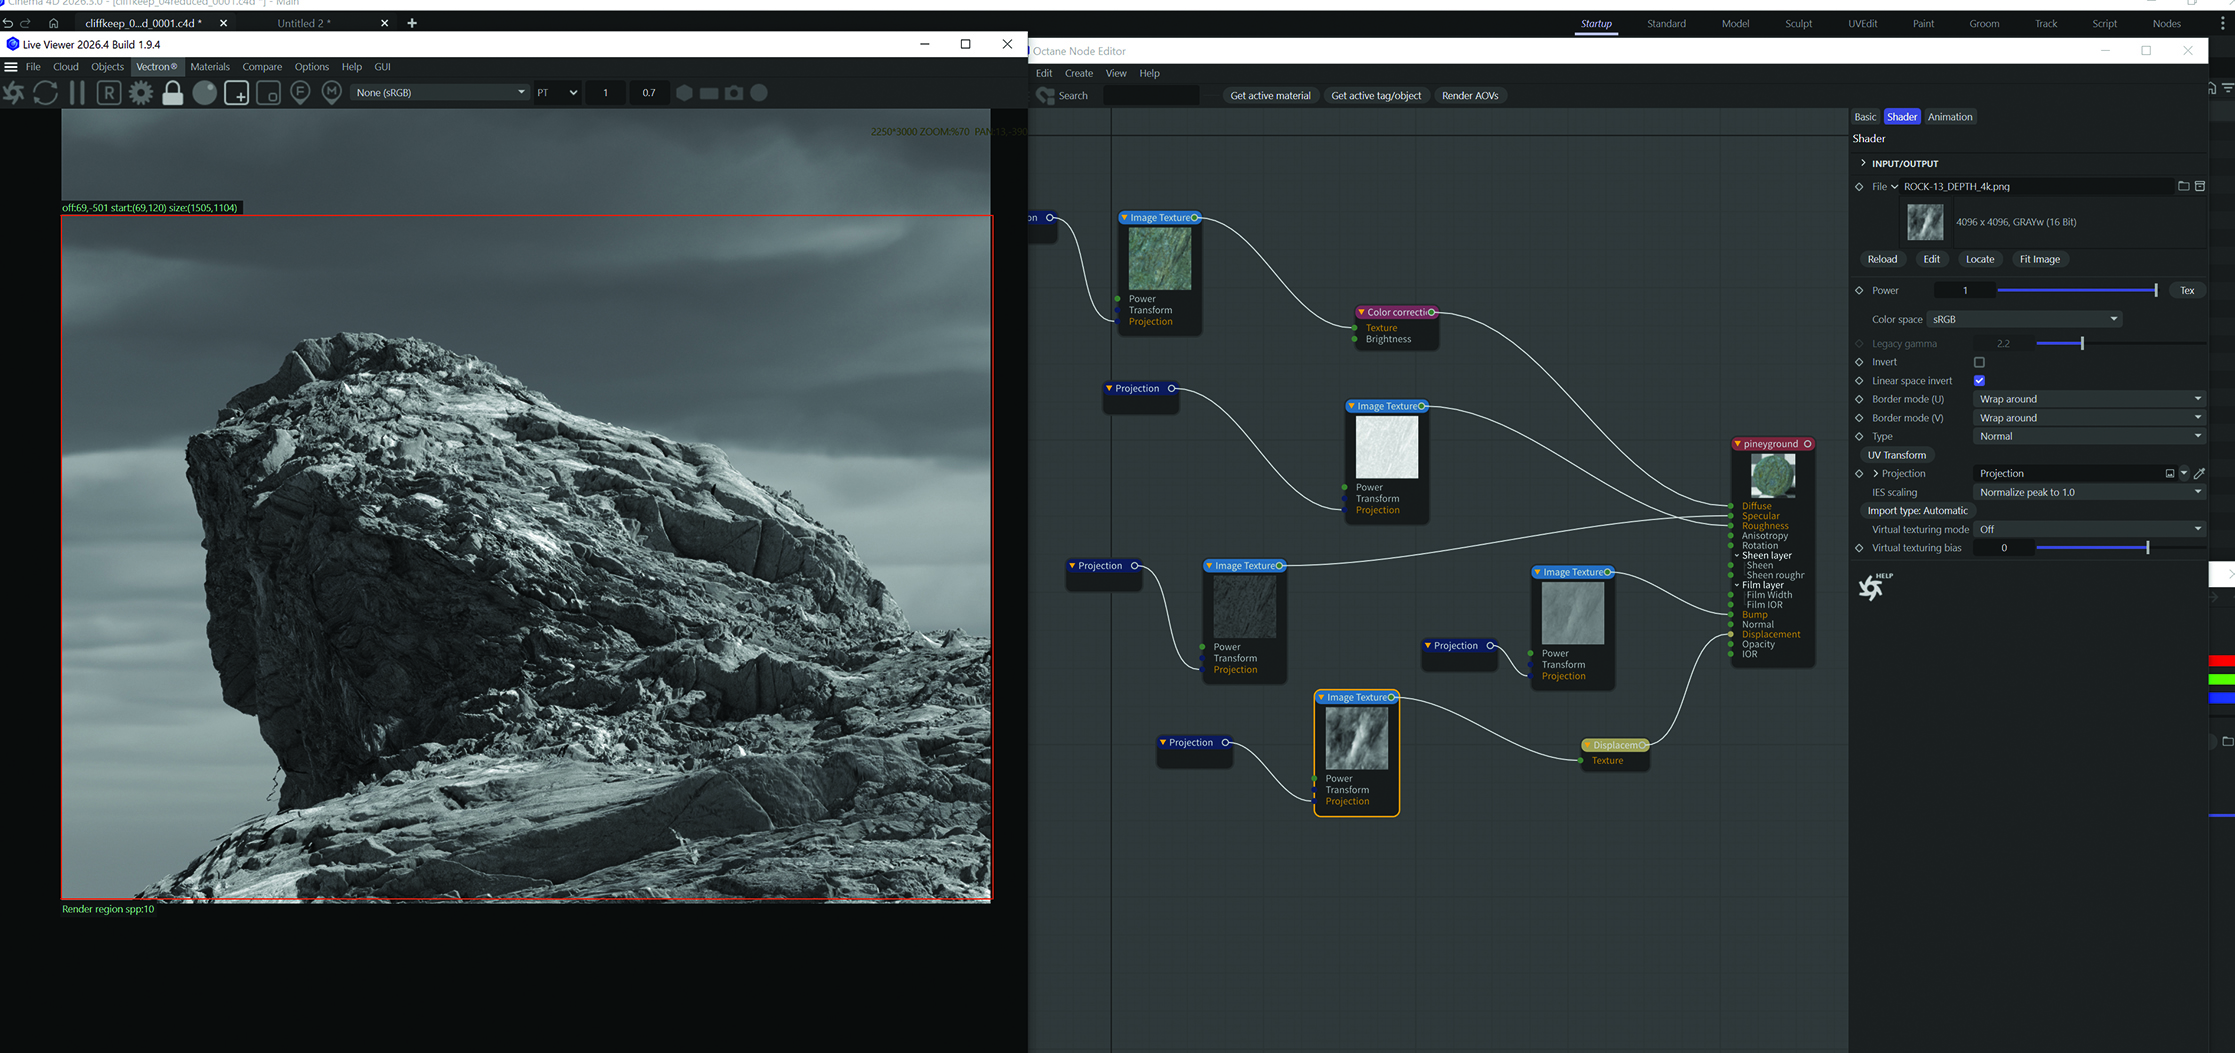
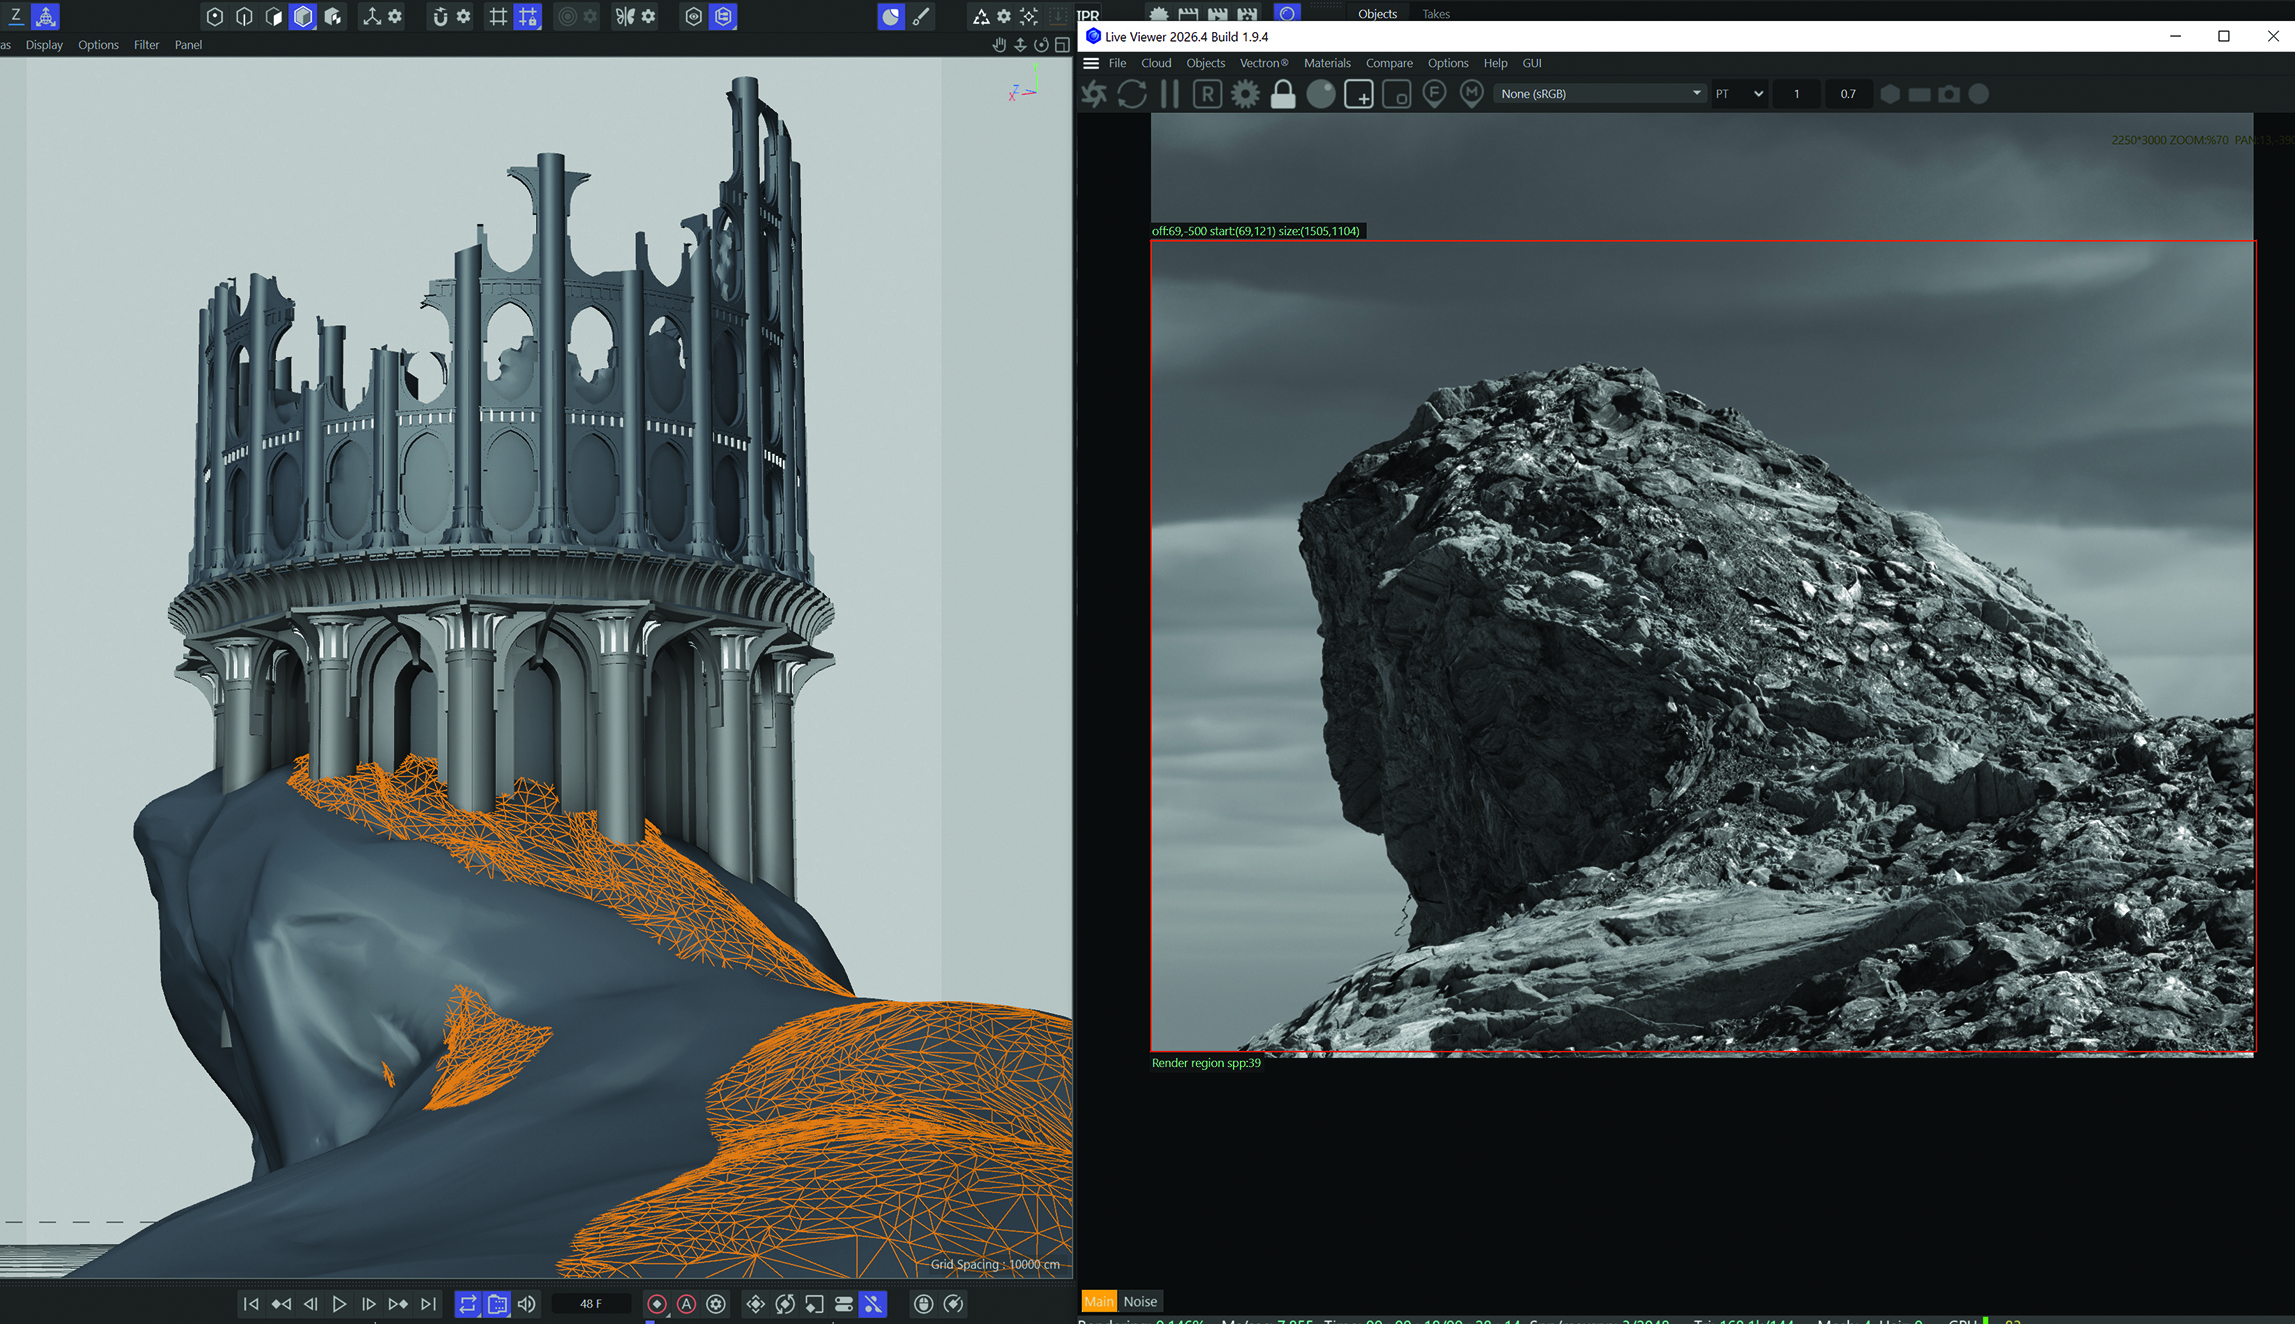
- Terrain Sculpting and Displacement: Basic terrain geometry is exported to ZBrush to refine macro-topography, ensuring the landscape interacts organically with architectural elements. Upon returning to Cinema 4D, high-resolution displacement textures are applied. This technique dramatically enhances surface complexity—turning flat polygons into jagged, tactile cliff faces—while keeping viewport performance fluid. UV unwrapping is performed prior to texturing to mitigate undesirable stretching and visual artifacting.
Phase Three: Texturing, Shading, and Atmospheric Lighting
The realism of a digital landscape heavily relies on material variation and environmental interaction. A single tiled texture often betrays the synthetic nature of a 3D render, necessitating complex shader networks.
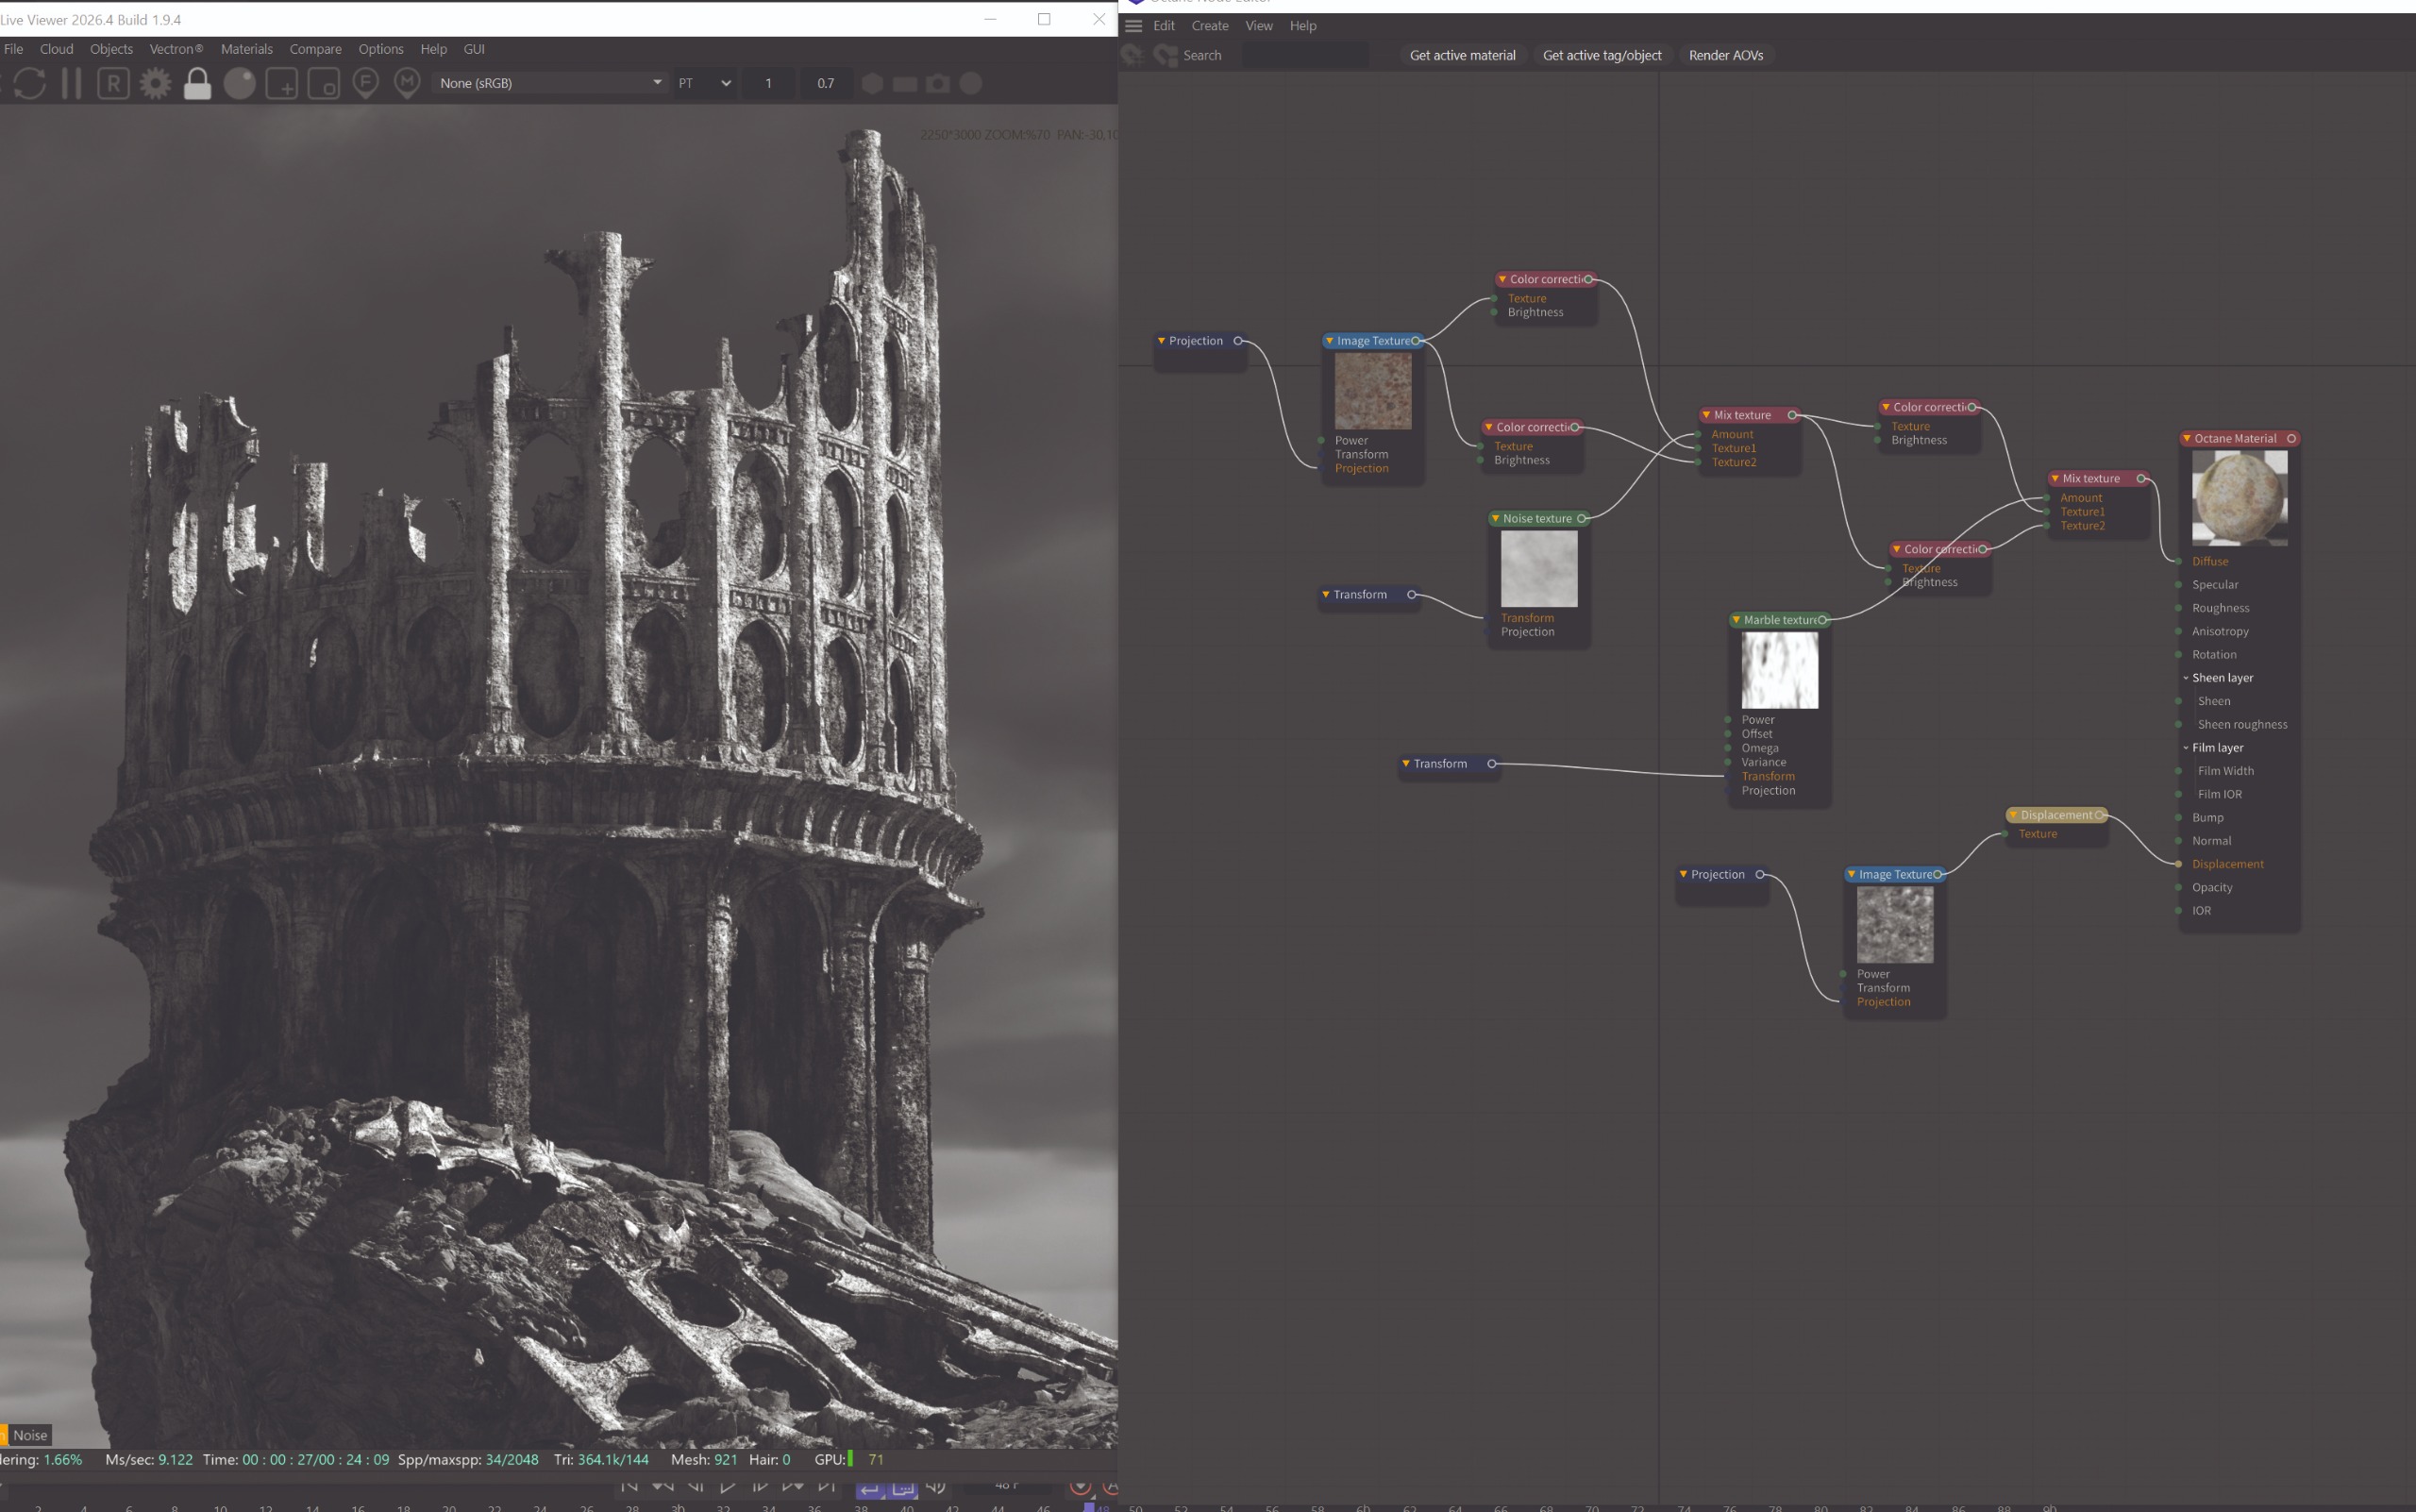
- Layered Terrain Texturing: To achieve a convincing natural ground cover, artists often employ multiple overlapping terrain layers. By duplicating base geometry and slightly elevating it along the vertical axis, creators can blend cliffside materials with photogrammetrically scanned rocky ground and organic soil textures. Vertex maps and procedural noise shaders are frequently utilized to introduce natural grime accumulation, simulating the natural flow of weathering, sediment, and moisture near the base of structures.
- Cinematic Lighting and Sky Integration: Lighting acts as the primary driver of emotional resonance and visual hierarchy. Working in tandem with texturing phases, artists test various High Dynamic Range Imaging (HDRI) setups to optimize light and shadow interplay. Atmospheric elements, such as strategic cloud planes and volumetric fog, are introduced to enhance depth-of-field separation and compositional flow. Interestingly, color grading decisions are frequently made dynamically; for instance, temporarily desaturating a scene to evaluate tonal values can sometimes inspire a permanent stylistic shift, such as adopting a timeless monochromatic or vintage aesthetic.
Phase Four: Foliage Scattering and Optimization
Populating an environment with organic life represents one of the most computationally demanding aspects of digital art production. Modern render engines utilize advanced instancing and scattering plugins to manage millions of individual polygons efficiently.
Using vertex maps painted directly onto the terrain mesh, digital artists dictate the precise distribution density of pine trees, shrubs, and undergrowth. To maintain manageable render times during heavy nature scenes, professionals frequently adopt a compartmentalized rendering strategy—isolating foreground, midground, and background elements.
Essential render passes, including Z-Depth passes for atmospheric depth of field, bloom passes for light diffusion, and object ID passes for precise masking, are exported independently to grant maximum flexibility during the compositing stage.
Phase Five: Post-Production and Final Polish
The final stage of the digital pipeline takes place in software such as Adobe Photoshop, where raw renders are elevated into finished pieces of digital art.
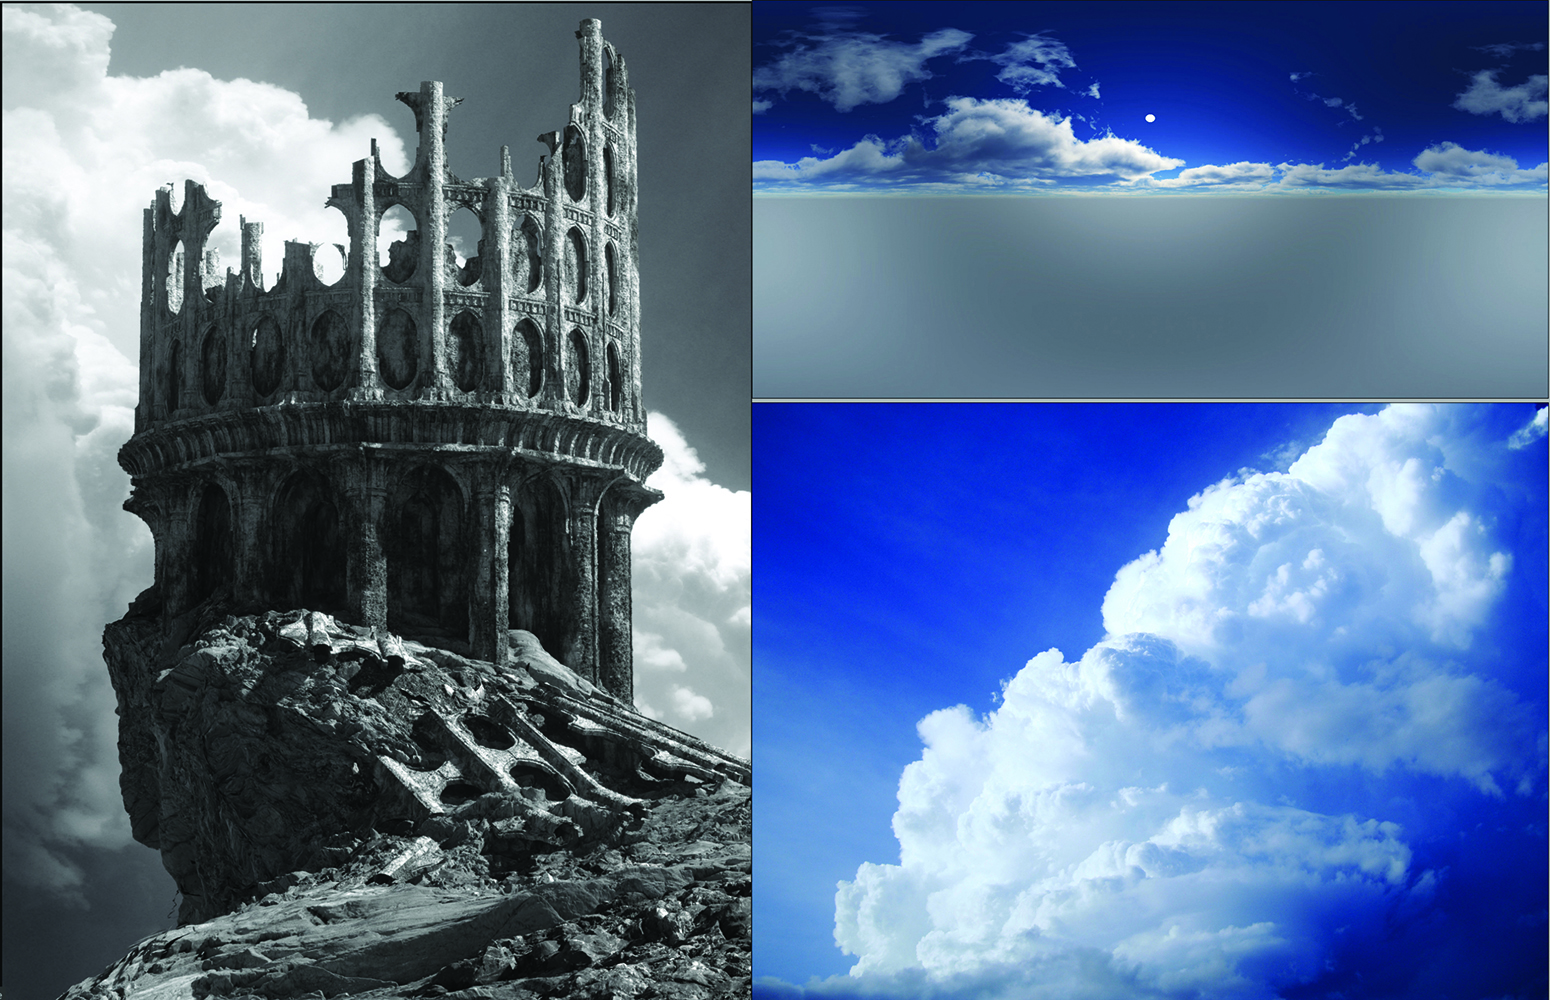
- Artifact Correction and Paint-Over: Even advanced displacement mapping can produce geometric anomalies or harsh rendering artifacts. Artists utilize digital painting brushes to manually smooth out visual noise, refine silhouettes, and paint in subtle architectural details that reinforce the narrative.
- Atmospheric Grading and Texturing: To achieve specific stylistic signatures—such as an aged photographic quality—artists manipulate exposure levels, deepen shadow values, and blend vintage paper or film grain textures using blend modes like Vivid Light and Multiply. Final levels adjustments balance the composite image, while targeted blur applications enhance foreground-to-background separation, ensuring the viewer’s eye is guided seamlessly through the narrative landscape.
Broader Industry Implications and Educational Outreach
The dissemination of detailed digital workflows by established professionals underscores a broader cultural shift within the computer graphics community. Platforms dedicated to digital arts education continue to democratize high-end techniques, enabling hobbyists and junior artists to adopt industry-standard pipelines previously restricted to major film and game studios.
As software developers push the boundaries of real-time rendering, artificial intelligence integration, and procedural generation, the barrier to entry for creating complex environments is lowering. However, as workflows like Calder Moore’s demonstrate, technical proficiency must still be paired with fundamental artistic principles—composition, lighting, and storytelling—to produce compelling visual art that resonates with audiences across the entertainment landscape.